By Azura · Updated July 2026 · Raised Garden Hub is reader-supported. When you buy through links on our site, we may earn an affiliate commission at no extra cost to you.
The Raindrip kit is our documented compact-layout starting pick. Buy it for one small zone when its exact tubing, regulator, fittings, and emitter plan cover the measured route. Skip a small 1/4-inch-only kit when several beds need a shared backbone; design that system around mainline capacity and total emitter flow. Parts and US availability were checked July 29, 2026. This is a research-based recommendation; we have not installed or flow-tested the kit.
| Decision field | Compact starter kit | Multi-bed system |
|---|---|---|
| Best fit | One small zone with a short measured route | Several beds sharing one faucet |
| Backbone | Kit-specific 1/4-in distribution | Correctly sized mainline with valved branches |
| Required head parts | Backflow protection, filter, matching regulator | Same, sized for total flow and local rules |
| Emitters | Match published flow/spacing to crop layout | Sum all emitter flow before adding zones |
| Expansion | Limited by exact kit parts and run limits | Easier when mainline and fittings share one system |
| Timer | Optional compatible faucet timer | Optional; zoning may require a different controller |
| Evidence | Manufacturer guide plus Extension design guidance | Extension design guidance; exact cart still required |
| Hands-on status | Not tested by Raised Garden Hub | Site-specific design, not a tested product pick |
Raindrip Raised Bed & Container Drip Kit
- Official installation guide available
- Manufacturer-published component list
- Compact flexible tubing
- Faucet-connection guidance available
- Measure the route before assuming coverage
- Not the default backbone for a large multi-bed zone
- No Raised Garden Hub flow test
Product facts are manufacturer- or retailer-published unless this page documents a Raised Garden Hub measurement. Confirm the exact model, live price, and terms before buying.
Build the head assembly before choosing tubing
Colorado State University Extension describes the permanent-system order as backflow prevention, control valve, filter, then pressure regulator. A hose-faucet setup may use a timer as its valve, but the exact order and backflow requirement must follow the product instructions and local water provider or building rules.
Confirm these items in the cart:
- Backflow protection that satisfies local requirements.
- Filter matched to the water source and emitter specification.
- Pressure regulator matched to the selected dripline or emitters.
- Mainline or distribution tubing long enough for the measured service route.
- Emitters or emitter tubing with published flow and spacing.
- Valves and flushable ends for isolation, testing, and maintenance.
- Compatible timer, only if automation is useful.
The official Rain Bird faucet-connection kit is one example of a documented head assembly: its page lists a backflow preventer, 25 psi regulator, mesh filter, and adapter for 1/2- or 5/8-inch tubing. That does not make it compatible with every downstream product; match pressure and connections before ordering.
Compare documented faucet connection kits →Calculate tubing from the actual route
For a four-foot-wide vegetable bed, Colorado State University Extension illustrates four runs at roughly 12-inch spacing. Use that as a layout example, not a universal bill of materials. Add:
- the distance from the faucet to the first bed;
- the header distance across all bed ends;
- each in-bed run and return;
- service slack around corners and fittings;
- separate flush ends;
- future branches only when the system has spare flow capacity.
Emitter spacing should follow the selected product and the soil wetting pattern. Closely spaced crops may suit inline emitter tubing; widely spaced plants may suit individual emitters. Do not mix incompatible flow devices on one runtime without checking the design.
One bed versus several beds
One compact zone
A documented starter kit can be the simplest purchase when the route, flow, and included parts fit. Lay out the system on paper first, compare the parts list with the manual, and leave access to the filter, regulator, valves, and line ends.
Several raised beds
Use a mainline along the bed ends and a separate valved branch for each bed. Calculate the sum of all emitter flow and stay within the manufacturer’s run and capacity limits. Separate zones when crops, sunlight, soil mixes, or bed use require materially different watering.
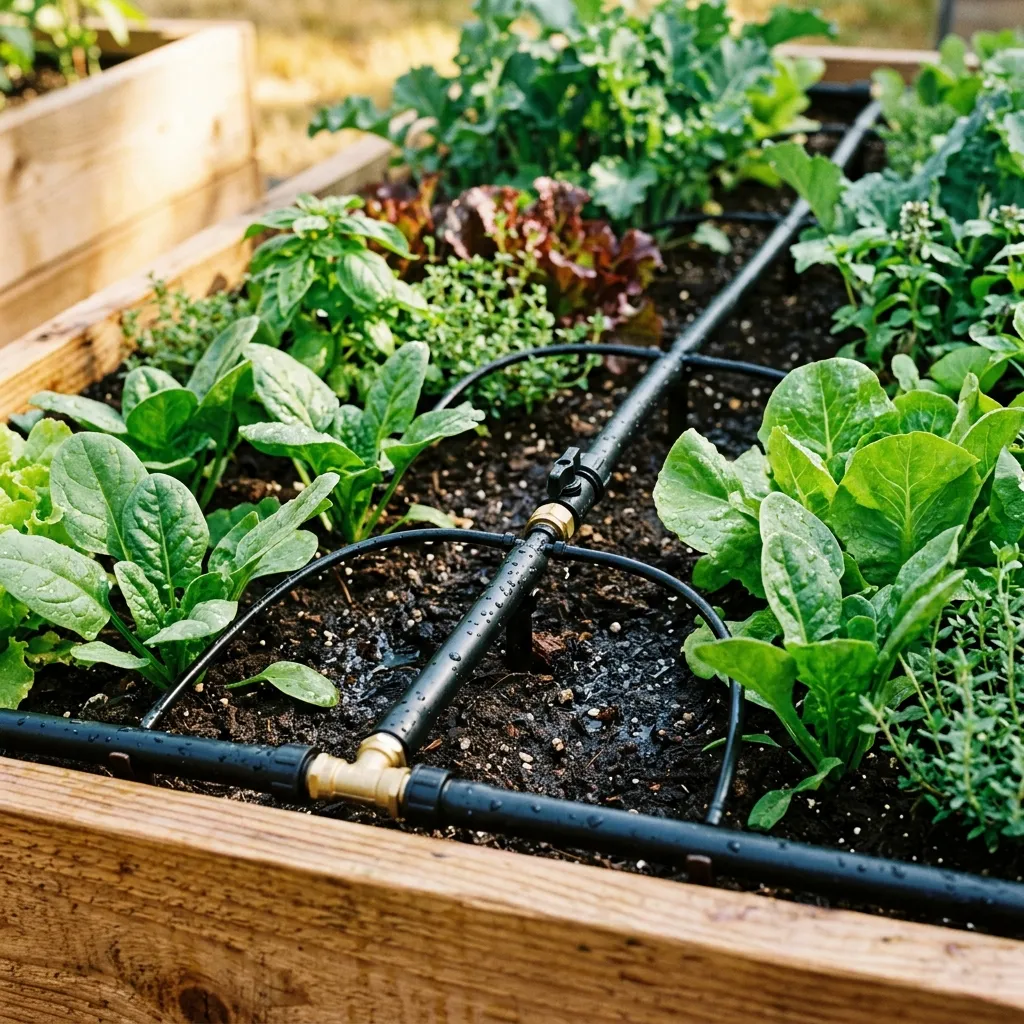
Raised-Bed Mainline and Dripline Components
- Mainline can serve separate valved branches
- Published emitter flow supports calculation
- Individual beds can be isolated
- Replaceable components
- Requires a measured design
- Total flow and run limits still apply
- Mixing brands can create connection or pressure mismatches
Product facts are manufacturer- or retailer-published unless this page documents a Raised Garden Hub measurement. Confirm the exact model, live price, and terms before buying.
Timer: automation, not verification
A battery faucet timer can open the valve on schedule, but the first schedules should be treated as trials. Observe emitter output, inspect for leaks and dry areas, and check moisture through the intended root zone. Adjust for crop stage, rain, temperature, and season rather than repeating one runtime all year.
Compare compatible faucet timers →Setup and verification sequence
- Measure available flow and pressure using the selected manufacturer’s method.
- Install the head components in the documented order.
- Lay mainline and branches without tight bends or inaccessible connections.
- Flush lines before closing the ends.
- Install emitters or emitter tubing according to the product plan.
- Run the system and look for leaks, displaced fittings, blocked emitters, and dry stripes.
- Check soil moisture at the intended root depth and adjust the schedule.
- Reinspect filters, ends, valves, batteries, and emitters during the season.
Choose or avoid
Choose the Raindrip starter format if:
- the measured route fits the current kit;
- one compact zone has similar watering needs;
- the included regulator, fittings, and emitters match the plan;
- expansion beyond the documented limits is unlikely.
Build a mainline system instead if:
- several beds share one faucet;
- individual bed shutoff is important;
- the route is long or the total emitter count is high;
- future expansion is likely.
Avoid checkout until:
- the local backflow requirement is known;
- pressure, filtration, and connection sizes match;
- tubing length includes the service route and flush ends;
- the total project cost includes timer, valves, connectors, and replacement parts.
Compare irrigation, frame, soil, delivery, and cover hardware together with the raised-bed total-cost calculator. If the lines will sit below a protective frame, choose the raised-bed cover first so valves and fittings remain accessible.
Bottom line: A credible drip-kit recommendation starts with a complete documented parts list and a measured design. The Raindrip kit is the compact starting pick; a mainline with valved branches is the more defensible format for several beds. Neither is “set and forget.”
Frequently asked questions
What is the best drip irrigation kit for raised garden beds?
The documented Raindrip kit is our compact-layout starting pick. For several beds, start with a correctly sized mainline and verify total emitter flow instead of trusting a universal bed-count claim. Every cart should be checked for backflow protection, filtration, pressure regulation, tubing, emitters, flushable ends, valves, and timer compatibility.
How much drip tubing do I need for a 4x8 raised bed?
Colorado State University Extension illustrates four runs at roughly 12-inch spacing in a four-foot-wide vegetable bed. The exact order length also includes turns, the route from the faucet, a header, service slack, and flush ends. Match spacing to the emitter product, soil wetting pattern, and crop rows.
Do I need a pressure regulator and filter for drip irrigation?
Use the pressure and filtration specified by the exact emitters. Colorado State Extension identifies missing filters and pressure reducers as common setup errors, and advises a regulator that meets manufacturer specifications. Local rules may also require a particular backflow device.
Is drip irrigation better than a soaker hose for raised beds?
Dripline provides published emitter flow and spacing; a soaker hose may be simpler. Uniformity, clogging, output, and maintenance depend on the exact product, water quality, pressure, layout, and run length. Raised Garden Hub has not conducted a comparative field test.
Can I put a raised-bed drip system on a timer?
A compatible faucet timer can automate valve operation, but it does not verify moisture or detect every leak, clog, dead battery, or weather change. Confirm the connection order and compatibility with the backflow device, filter, and regulator, then inspect the system regularly.
How long should I run drip irrigation on a raised bed?
Runtime cannot be prescribed without emitter flow, spacing, crop demand, soil mix, weather, and target depth. Colorado State Extension recommends checking soil moisture and adjusting for the actual product, pressure, spacing, and plants.